Can you replace a conservatory roof with tiles? The short answer is yes! A solid roof conservatory is possible but does require preparation and considerable planning to ensure you have a conservatory roof that fits your needs. Whatever shape or size your conservatory may be, there are opportunities to tile your conservatory roof. A big reason for this is that manufacturers make lightweight roof tiles for conservatory buildings, a feature with cost-effective benefits. So, where do you begin with tiling your conservatory roof?
Table of contents
- Do I need planning permission for a solid conservatory roof?
- Do I need approval from Building Regulations to replace a glass conservatory roof with tiles?
- How much does it cost to replace a conservatory roof with tiles?
- Best roof tiles for a conservatory roof
- What conservatory roof style should I choose?
- How to replace conservatory roof tiles
Do I need planning permission for a solid conservatory roof?
Before you go ahead with making tile and design choices, you will need to check whether you will need planning permission for your pitched roof conservatory. Although you typically won’t need it, it’s always best to check by speaking to your local council. One main reason is that some tiled and glass roofs can be at risk of collapsing if materials are heavier and have not been installed on the right framework. You may also need planning permission if the building is listed or located in a conservation location.
In cases where planning permission is needed, this is not only a legal requirement to ensure the project can be done, but also necessary for understanding how much budget you have to use on the roof’s design as you may need to add the planning permission price to the total cost.
Do I need approval from Building Regulations to replace a glass conservatory roof with tiles?
Building Regulations cover the construction and extension of buildings. When replacing a conservatory roof, ensure approval is acquired before you change the building or use a contractor registered with a competent person scheme for pre-approval. Whichever approach you choose, ensure that you’re all set with the legalities of the roof construction.
How much does it cost to replace a conservatory roof with tiles?
Tiled conservatory costs can range from anywhere between £7,000 to £30,000. The average cost is £19,000 (at the time of writing). However, the cost to replace a conservatory roof with tiles varies. Different factors can affect the total cost. These can include (but are not limited to):
- Size of the conservatory roof.
- Whether you want to opt for a skylight.
- The materials used (tiles, timber, membrane etc).
- Labour costs.
- Planning permission and/or Building Regulations requirements.
So, before you tile your conservatory, plan thoroughly to ensure that you can meet your budget requirements accordingly.
Best roof tiles for a conservatory roof
Whichever type of tile you choose, roof tiles in general are beneficial for noise insulation and aesthetic design. As a type of ‘warm roof’, your new solid conservatory roof will be great for thermal efficiency, too. So, what are the different lightweight tiles for a conservatory roof?
An important note: Picking the right tile also means confirming there isn’t too much weight on the structure. So always check with an experienced conservatory builder to know what tiles suit your building. Concrete and clay are not advised as these are typically very weighty, which further risks collapsing the conservatory roof.
If you want further details about how long roofs last, check out our guide to roof lifespans.
Slate conservatory roof tiles
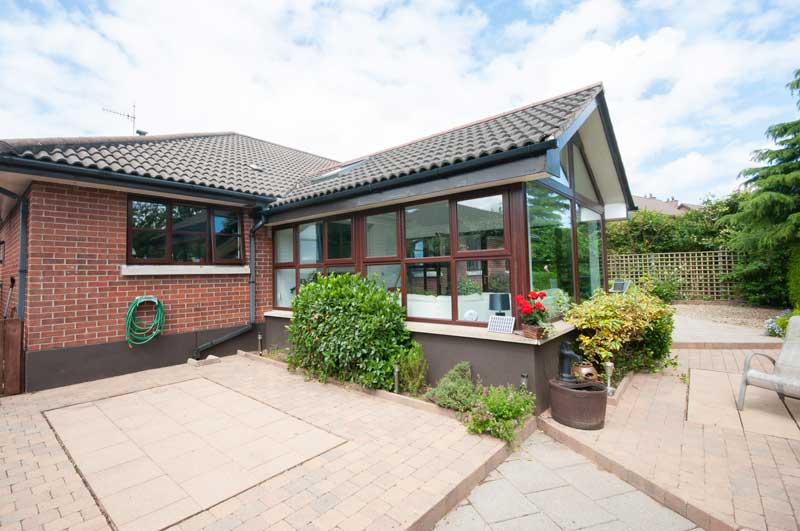
Slate (man-made recommended) is a great choice for conservatory roofing. Not only does a slate roof conservatory look beautiful, but it also has a long-lasting structure with high impact resistance. They can also be cut to size and easily installed. Not a fan of the traditional colour of slate? opt for something like red, grey or even brown. The range is vast, and each option is always worth consideration. You never know, it might give the overall property a unique look.
TapcoSlate is one to look out for when choosing a slate roof for your conservatory. They offer a great selection of man-made slate roofing tiles and accessories.
Shingle conservatory roof tiles
Metal roof shingles are lighter in weight than other materials like slate and concrete. Making it the perfect choice for a conservatory for many different reasons. Including cost effectivity which is a definite bonus when considering their low maintenance requirements. There are also many different colours to choose from, with some replicating traditional materials like clay or concrete, and they do well on low-pitched roofs. So, whether you want the conservatory as a permeant fixture or to stand out, this is the tile for you.
Metrotile offers a wide range of Metro tiles for conservatory roof projects. Check them out for more about this and other roofing materials for your conservatory.
Can I combine glass and tiles?
Yes. There are options to put tiles and glass together if you want more lighting and to avoid the need for a skylight installation.
What conservatory roof style should I choose?
Over the years, conservatory roof designs have changed drastically. Since the 17th century, we’ve seen how they’ve grown from simple greenhouse-style buildings to comfortable leisure spaces. So what designs are there and is it right for you?
Lean-to conservatory roof
This simple design comprises a roof with a slope (or slopes) lower than the section of the roof connecting to the property. Thanks to the simple design, it can suit any style of property, is affordable and can take on low roofline requirements.
Victorian conservatory roof
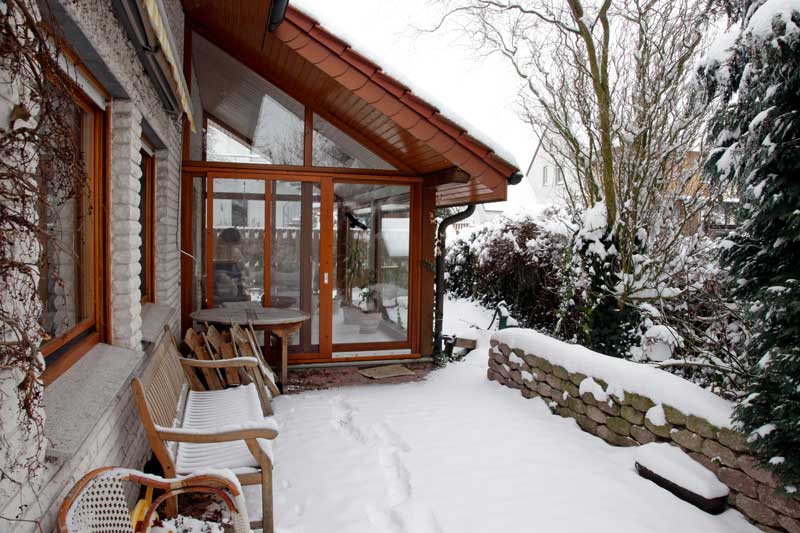
An oldie but a goodie. This beautiful design is a wonderful choice for traditional properties. Not suitable for low roofs, but unique with its roof design. The semi-hexagonal or pentagonal bay windows create a curved end, connecting to the property with a rectangular section.
Edwardian conservatory roof
Another great choice for traditional-style properties. With this classic design, you can completely tile the roof or opt for glass and tiles depending on the amount of light you want. You can choose to have low roofing for this one, but you will need to have a hip-back roof to fulfil this.
Gable-end (aka gable) conservatory roof
A gable-end conservatory roof design has a very pronounced look. This consists of two sloping roof panels to the sides that connect to the property, with a triangle face. This creates an eye-catching look and allows for decorations to be applied as wanted. Although considered to be modern-only fitting, this design is suitable for traditional properties too. If you opt for this design, you must have a hip-back roof to fulfil the low roof line requirements.
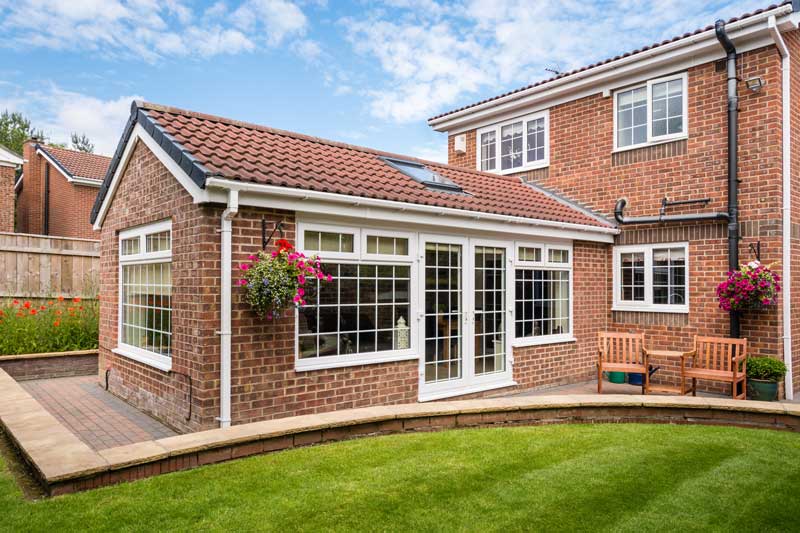
Double hip (aka hipped back) conservatory roof
The double hip is a design that helps make the building look like a separate structure if you don’t want it to blend into your main property design.
‘Lettered’ conservatory roof (L-shaped, P-shaped and T-shaped)
These roofs are combinations of other conservatory rooves to create a specific letter shape for added uniqueness to the conservatory’s design. Each shaped roof is a combination of the following:
- L-shaped: Two square-shaped conservatories put together.
- P-shaped: Square-shaped conservatories with a Victorian-shaped conservatory.
- T-shaped: Rectangular-shaped conservatories with a square-shaped conservatory sticking out from the middle.
How to replace conservatory roof tiles
So, how do you replace conservatory roof tiles? The process is long and can take at least 2-3 days to complete. Here’s your step-by-step guide. For this example, we’ll be referring to the existing roofing material as glass.
Step one: Temporarily cover the interior flooring with plasterboard or protective layering. This catches any debris falling from the working area so you can easily clean up following the installation.
Step two: Remove the aluminium trims and the glass to create a fresh new workspace. The trims are typically clipped in place, so they’re easy to remove.
Step three: Around the roof’s edge, just above the window frames, use half-lap timber joints to fix a new wall plate. This will make for a good support structure.
Step four: Install the common rafters. You will need to fix the rafter closest to the house against the wall by screwing it in place with a drill. For the ridge beam, make sure it is level using a spirit level.
Note: If you’re planning for windows in the roof, double the common rafters for these sections.
Step five: Once the rafters have been fitted, install timber plywood across the sections where your tiles will be fitted. Nail these down using a hammer or nail gun.
Step seven: Cover the roof in waterproof roofing felt, nailing the material down using a hammer or nail gun. At this point, you can opt to finish the roof in one day or move on with the construction for a second day as the roof and inner conservatory space are protected by the waterproof felt. However, the latter is only advisable in dry weather. Even though the felt is waterproof, you don’t want to encourage moisture to thrive in and around the felt and timber before applying the insulation, tiles etc.
Step eight: Install plasterboard insulation, carefully cutting it so that it fits snugly in place between the rafters. Make sure not to cover the space where the roof window will sit.
Note: You can find out more about plasterboard insulation and the covering plasterboard via our plasterboard buyer’s guide.
Step nine: Fit battens over each of the rafters to cover them using screws and a drill.
Step ten: Cover the ceiling in plasterboard, fitting them to the battens with screws and a drill.
Once these steps are completed, you can move forward with your tiles as intended. We’ve got plenty of how-to guides for tile roof fittings. So, check these out!
Is your roof leaking? Find out what to do and how to fix a leaking conservatory roof!
So now you’ve learned more about conservatory roofs, explore our range of roof tiles to discover a variety of beautiful products to choose from.


