When it comes to fascias and soffits, it’s important to get these components right for the functionality of the roof and for the look of the property.
There are so many elements within the roofline that it’s critical these function together as they were designed. This ensures the roof is protected from inclement weather, birds and debris.
While the function of the roof is important, the look and kerb appeal delivered is too. That’s why many styles, materials and colours of fascia and soffit are available.
In this guide, you can find key information about what fascias and soffits are. You’ll also learn how they function together in the construction of eaves on a property
Table of contents
- What are eaves?
- What is a fascia?
- How do you measure for the installation of fascia board?
- Fascia capping boards
- What is a soffit?
- What is a soffit vent?
- How do you measure for installation of a soffit board?
- What are the common problems with fascias and soffits?
- Replacing fascias and soffits
What is an eave?
Made up of fascias and soffits, the eave is the area of the roof that extends a small way past the wall of a building. It’s an essential part of the roof and must be constructed correctly. You can find out more about eaves and their function by reading our guide to eaves.
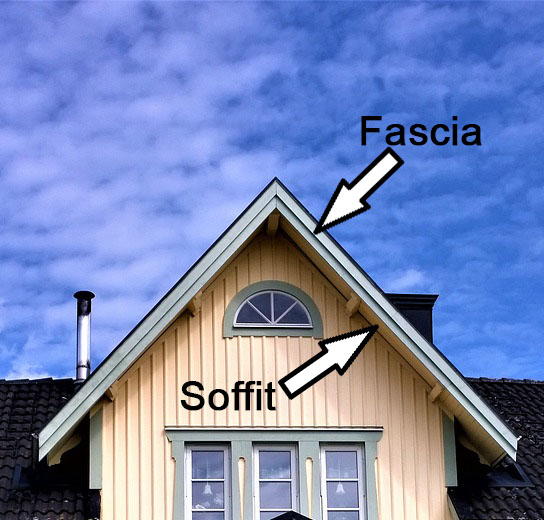
What is a fascia?
So, what is fascia? Simply put, the fascia is a horizontal board (or boards) that runs around the edge of the roof of a building. Fascia boards close the gap between the walls and the roof by hanging over the walls of the building. They’re designed to be both functional and attractive as they’re able to be seen from the ground outside a property.
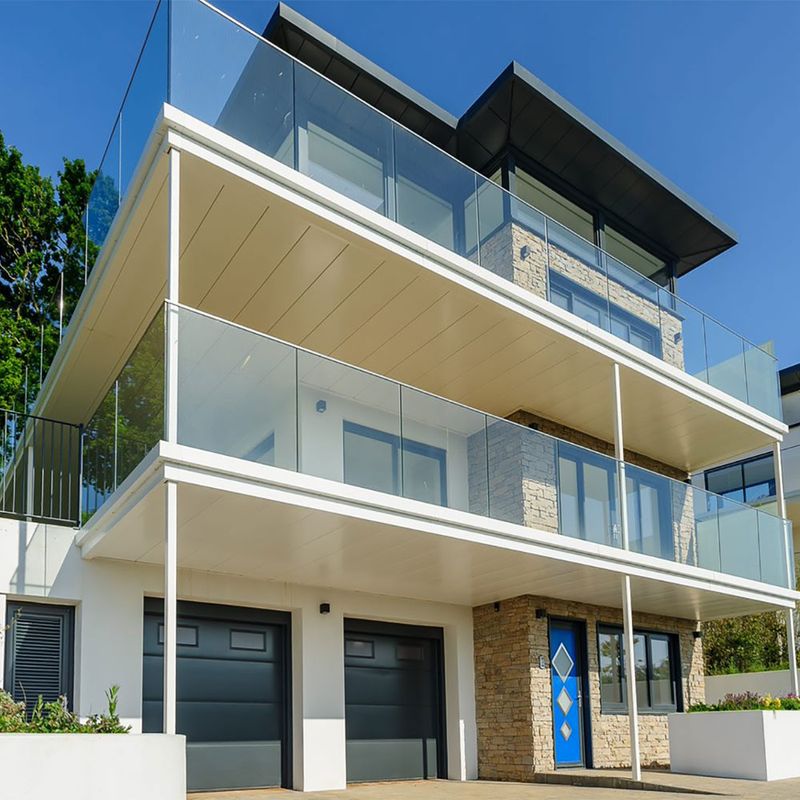
What is fascia used for?
As mentioned previously, the fascia is used to close gaps between the walls and the roof. However, they also help prevent water and animal ingress from seeping into the roof and loft space.
Another key factor is that they improve the appearance of the building by smoothing out the edges of the roof. A much more pleasing sight than rough or open-ended roof rafters.
The fascia is what guttering is attached to. This needs to be sturdy, fitted well and also be an attractive backing for chosen gutters. With such a simple and secure surface, guttering can easily be installed and used to support the home with a reduction in heavy rainfall damage.
What materials are used to make a fascia?
There are three main types of fascia material: wood, uPVC and aluminium. Wood and uPVC are most commonly used on domestic properties whereas aluminium will more likely be found on industrial or commercial buildings.
Wooden fascia
Wooden fascia board is commonly used because it’s an affordable and traditional building material. It is important to note that wooden fascia needs to be primed before use. Wood is not water-resistant and as a result, can rot over time if not protected. You will also need to re-paint it to replace paintwork that will peel off over time. View this as a benefit as you’re able to easily change the colour of wooden fascia to suit trends or to change the façade of a property.
uPVC fascia
A uPVC fascia has become an admirable asset for many properties in recent years. Due to its durability, uPVC will not experience rotting or warping over time of its use. This makes it much more likely to exist maintenance-free, unlike wooden fascias. There is also a wide variety of shapes, colours and styles to ensure you can have the ideal parts without compromising on property appearance.
Aluminium fascia
Aluminium fascia is a costly option, but one that offers longer-lasting benefits! This is what makes this product the favourite for commercial and industrial buildings. From small retail stores to big superstores and industrial estates, many buildings that need increased resilience and lower maintenance costs opt for aluminium fascia due to its hard-wearing nature.
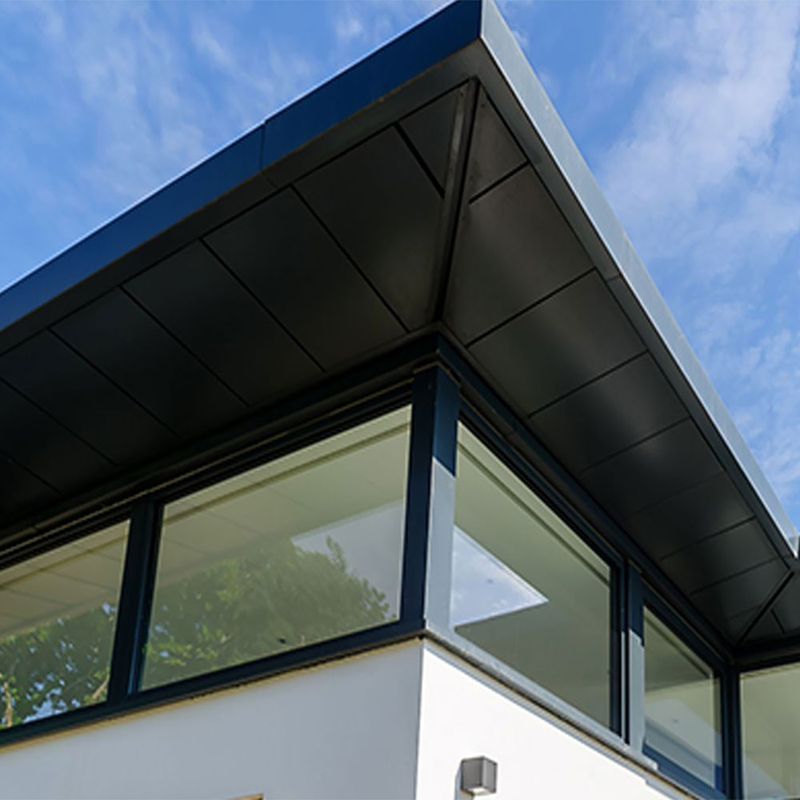
What is a bargeboard?
The bargeboard is the part of the fascia that runs up the gable ends of a roof. It is key in creating a complete finished look for your home.
There are two ways you can use the bargeboard. The first is to make it identical to the rest of the fascia, to create a uniform, sleek look. The alternative is to make the bargeboard different to the rest of the fascia, creating a feature.
Note: Do not confuse fascia boards with rake boards. Rake boards are only used diagonally or on the sloping edge of a roof. ‘Rake’ refers to the slope. Hence, rake board.
How do you measure the installation of fascia board?
Working with another can help with measurements, but if you are to work alone during this part then these are the following steps to take:
Step one: Make sure you have something to hold down one end of the tape measure.
Step two: If you’re installing a full fascia board, measure from the first rafter to the last.
If you’re installing a section of the fascia board, this is much easier and can be done independently by measuring the gap.
Step three: Once you have the measurements, you can transfer these measurements onto the length of the fascia board using a carpenter’s square. This ensures the line you will cut is straight with a perfect 90° angled corner.
How do I install fascia board?
Here is an overview of how to install fascia board.
Step one: Place the fascia board level with the front of the soffit board.
Step two: Fix it onto the rafters with stainless steel nails – rafters should have two evenly spaced nails on to hold the fascia in place.
Step three: Make sure that the fascia isn’t too wide as this can block windows from opening and is secured in place to support the weight of roof tiles and guttering.
Step four: Cover box ends easily with a single piece of fascia.
Step five: Use fascia corners and trims for clean finishes.
How to fit eaves vent strips
After fitting fascia boards, you’ll need to install eaves vent strips in one step. Simply install an eaves vent strip on top of the fascia board with nails.
These strips allow air to pass through for ventilation purposes. This prevents any other ingress of water, or living creatures entering the roof space.
An alternative would be to use eaves felt trays. These fit under the roofing felt and overlap into the guttering. These will ensure any water drains away into the guttering instead of into the roof space.
Fascia capping boards
The cost to replace fascia and soffit can often be offputting. So your home may have damaged fascia and soffit. The alternative to fitting new fascia boards is to use capping boards.
Capping boards fit over existing timber fascia to create a new look. You can also use them to add extra weather protection, without having to remove and replace the old fascia. This saves on labour costs and time, as well as the price of the products. So it is cheaper than a fascia board replacement cost.
Capping boards are most commonly manufactured from uPVC. They can be easily fitted to the existing fascia using plastic-capped nails.
However, it is crucial to check that the existing fascia is free from rot or degradation before fitting the fascia capping boards. You must also replace any poor-quality or rotting timber.
How to fit fascia capping boards
To fit fascia capping boards you will need to do the following steps:
Step one: Remove all guttering and drainage pipes
This will enable a fresh start. Don’t worry, you’ll reinstall it later.
Step two: Inspect all current fascia and timber
You must remove any rotten or degraded timber. The timber will be holding the weight of guttering, eaves tiles and capping boards, so must be sturdy.
If any of the fascia boards or timber are rotten, replace them or use a product such as marine plywood to create a backing.
Step three: Fix capping boards onto the timber
Used plastic capped nails to fix the capping boars in place.
Step four: Now reinstall the guttering
Once you have fitted the capping boards, you can reinstall the guttering.
Don’t forget to add new eaves felt to protect roof eaves from rotting. If desired, fit the new guttering at the same time as fitting the fascia capping boards. This is one way to minimise the fascia, soffit and guttering replacement cost.
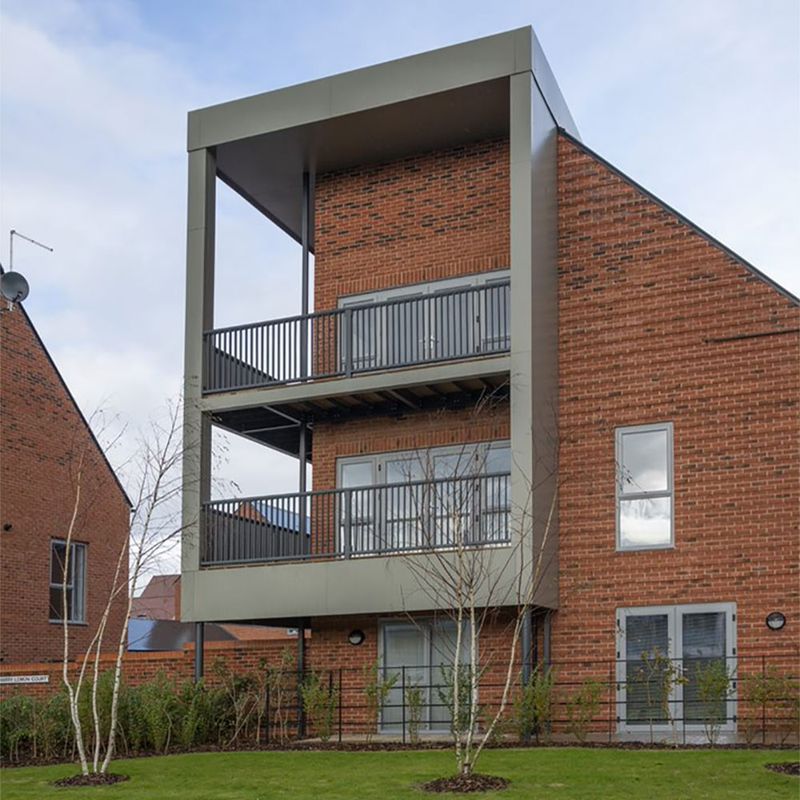
What is a soffit?
Soffits are boards that operate similarly to a fascia. However, they are installed at a 90° angle to the walls instead of parallel. They are also installed under the fascia boards as a way to fill the gap between the fascia and the wall.
What is the function of a soffit?
As a key factor, soffits help smooth the finish on the property. They hide rafter ends and block gaps between roofs and walls. With this system, there is also improved ventilation alongside the prevention of creatures and water entering roof spaces.
What materials are used to make a soffit?
Soffits are also available mainly in wood and uPVC, but also come in a number of other common types of material:
Steel soffits
Steel soffits are admirable because of their durability. They’re longer-lasting, available in numerous colours and can withstand various weather. They can also be pre-cut to fit specific measurements to save you time during installation.
Fibre cement soffits
These types of soffits are also in the popularity contest. Though they also have durability, they are; lighter in weight, also available in many colours, affordable and highly waterproof.
Aluminium soffits
Durability is greatly appreciated when it comes to this material. There is little maintenance required, no complicated installation and because of its durability, you can rely on having no cracking or chipping.
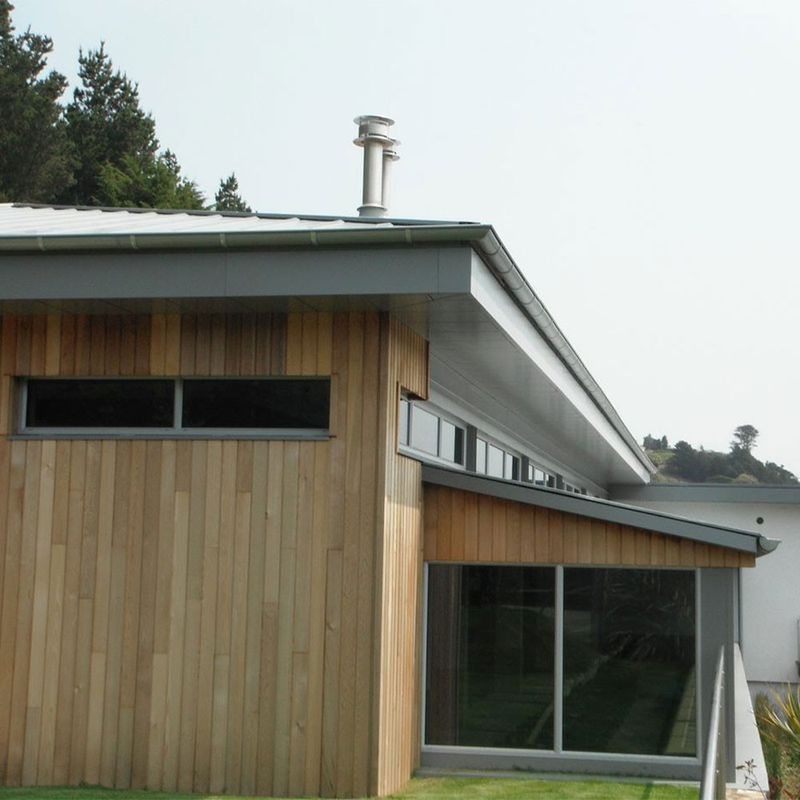
What is a soffit vent?
A soffit vent is a vent that fits onto the soffit board of a building. A soffit vent helps increase ventilation into and out of the roof or attic space.
The vent draws fresh air into the roof space whilst allowing warm, moist air out of the roof space. This means that the risk of condensation building up is greatly reduced. As a result, it minimises the potential for dampness, mould and rot to occur.
Check out our range of circular soffit vents and continuous soffit vents to find the right one for your project.
An alternative to using soffit vents is to use vented soffit boards. These are soffit boards that contain a vent.
How far apart should soffit vents be?
The general rule for spacing soffit vents is that there should be a square foot of ventilation for every 150 square feet of attic space.
This means, for example, that if your attic is 300ft square, and each vent is 0.5ft square, you’ll need 4 vents. These soffit vents should be evenly spaced throughout the roof within the soffit boards.
How do you measure the installation of a soffit board?
Step one: Measure the width of the space under the eaves (from the wall to the outer eave board). Typically, the overhang will be 12 inches, but this may vary from building to building. So always measure this.
Step two: Cut the soffit board to the correct length and width.
Step three: Nail the soffit board to the timber using plastic capped nails or pins (usually 25-40mm pins are most suitable).
Step four: Ensure the soffit is at 90° to the wall – use plenty of nails to prevent rattling during high winds.
Step five: Ensure there is a gap between each soffit board for placement of a soffit joint trim (used to create a smooth finish).
Step six: Ensure to maintain a gap of 8-10mm to allow for expansion – failure to do so can result in warping, cracks or splits.
What are the common problems with fascias and soffits?
As with any solution, parts will have issues. Fascias and soffits are no exception. Here are some of the more common issues that can occur over time:
Asbestos
Asbestos is a toxic material that was traditionally used in home construction. Many will have heard of the use of such a material being placed in roofs in the 1900s. Although it stopped before 2000, many older properties standing today still have the material located in the roofing.
Due to the nature of the material, it is vital that you contact a professional to investigate and remove the material if you believe it is in the roof before construction.
Rotting
Rain is unfortunately something we cannot stop. Wood-based soffits and fascias can in turn become damp and often begin to rot if not replaced or maintained. As mentioned previously, you can also reduce this risk by priming the wood before use to make it last that little much longer.
Broken systems
Rain isn’t the only thing the fascias and soffits will be exposed to. Over time there may be heavy snowfall as well as potential damage from other sources. Luckily, broken systems can be easily replaced. This makes broken systems one of the more minimal issues, but it will still need sorting if damages are found.
Bird nests
Some birds like to take up space in rafters and unused chimneys. This can, of course, be an issue if you’re planning to make adjustments to the home. If the case is that birds are living in such areas, you will need to contact a professional to deal with their removal. This is not only because of safety but also because they could be a rare species.
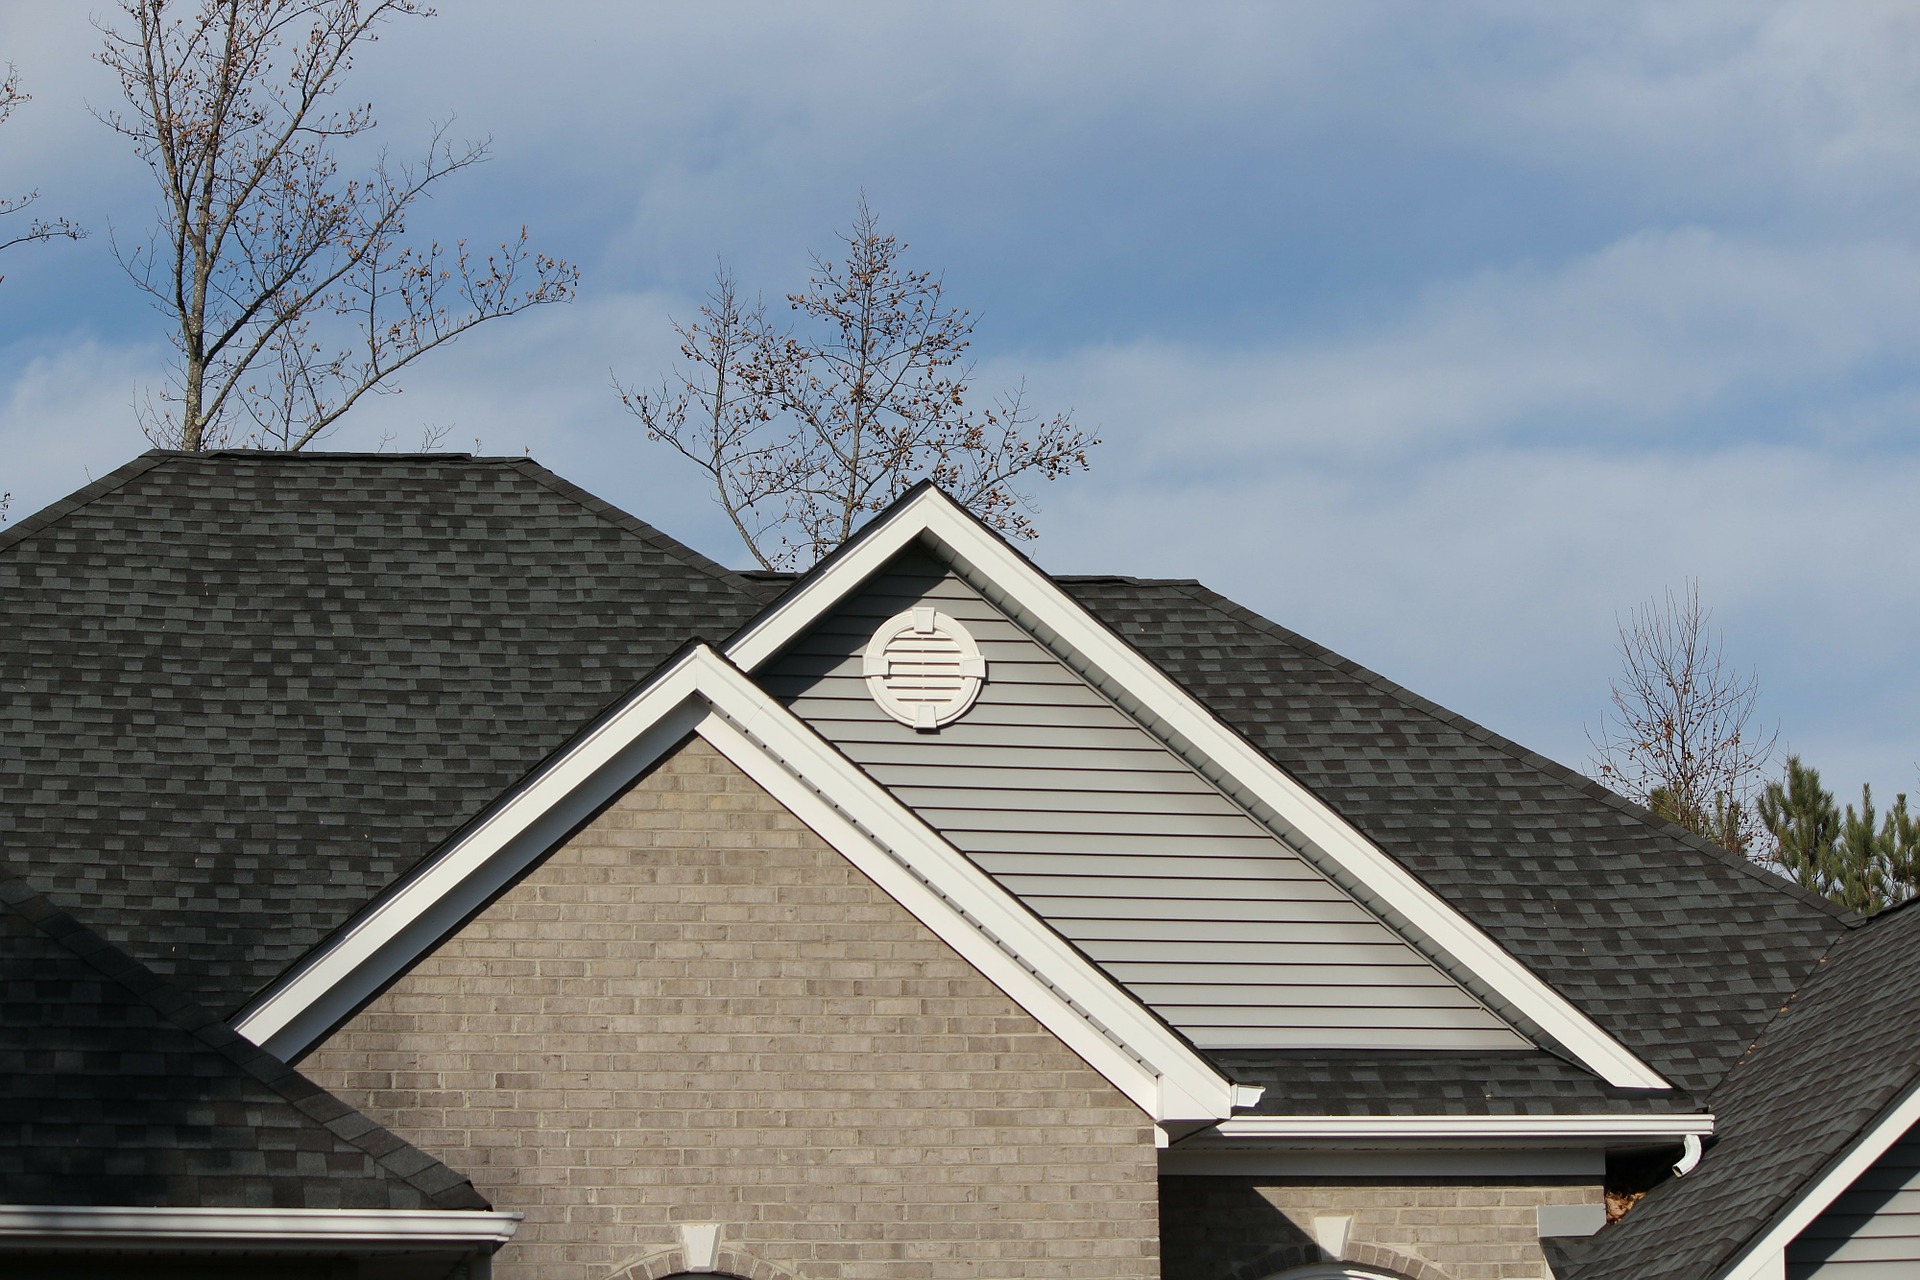
Replacing a fascia and soffit
The cost will vary as many different factors will count towards it. Though many suppliers offer an average of £100 per meter. What you will first need to make sure of, however, is that you or your manufacturer can carry out the repairs correctly.
If you do decide to go ahead with replacements yourself, you can choose the alternative to fitting new fascia with a capping board.
Roof preparation
Before starting to fit your fascia and soffit, several steps need to be undertaken.
Step one: Removals
Remove the bottom row or two of tiles on the roof and any old fascias, soffits, bargeboards and guttering.
This will help to prevent any moisture already from rotting the supporting timber.
Step two: Inspect the rafter felt
You must replace any damaged pieces of felt with felt or eaves protector.
Step three: Create adequate support at the wall to support the soffit
This can be a noggin that extends from the wall, adding hangars to the rafter boards, or using roof rafters as support.
If you would like further information and advice on fascia and soffit, you can open the live chat box or give our experts a call for support on 01752 692 760 and we’ll be happy to help.


